
Liquify are official Shopify Experts & Partners since 2014. If you follow a link to Shopify from our website and make a subsequent purchase this may result in a commission at no extra cost to you. Our opinions remain our own.
Interested in accepting Bitcoin in your Shopify store? Or even Litecoin or Dodgecoin? Bitcoin has exploded in recent years and there’s no reason why you shouldn’t accept it as a payment method in your store. It’s not difficult and doesn’t take much time. Ready to start accepting Bitcoin with Shopify?

Before we start – there are some business risks associated with accepting Bitcoin and we should all be aware of them. Many of the major exchanges have been hacked in recent years leading to missing coins and huge swings in value. And accepting Bitcoin will make your accounting more complex. That aside – we think Bitcoin is a great payment method for certain types of businesses. Since you’re reading this we assume you’re one of these businesses.
The good news is that accepting Bitcoin has become pretty damned easy these days using Shopify. Here we’re going to talk you through the steps of setting up your checkout so you can safely accept Bitcoin with Shopify.
Customers looking to Buy Bitcoin Mining Hardware should check out StrikeMine.
Step 1 – Open a Shopify Store
The first thing you’ll need is a Shopify store so if you haven’t got one now is the time to open a demo store. It will take you around 10 mins to do this. If you already have a Shopify store then skip this and jump to step 2.
Step 2 – Select a Bitcoin Exchange/Wallet
There are currently a few integrations for Shopify which allow you to accept Bitcoin.
The big three are:
Coinbase – allows you to accept Bitcoin
Bitpay – allows you to accept Bitcoin
GoCoin – allows you to accept Bitcoin, Litecoin & Dodgecoin
Step 3 – Choose which Bitcoin Wallet/Exchange you will use
If you just want to accept Bitcoin then I’d strongly suggest using Coinbase since they are the biggest and most established. We don’t see much traction with litecoin yet or Dodgecoin. The second biggest coin is Ether and we think that Coinbase will add this soon.
IMPORTANT: Be sure to select a business account during signup.
Then go to merchant settings and open a merchant account.
Give them the information they need.
You can’t integrate Shopify and Coinbase without a business account with a merchant account activated – you’ll just get a load of errors.
Step 4 – Assign the wallet/exchange to your checkout
Now you’ve decided on which wallet/exchange you’ll use then it’s time to set things up in the Shopify admin.
Here we’ll walk you through the steps for Coinbase but the steps are pretty similar regardless.
So go to admin > settings > payments
Scroll down to Alternative Payments and select your service provider.
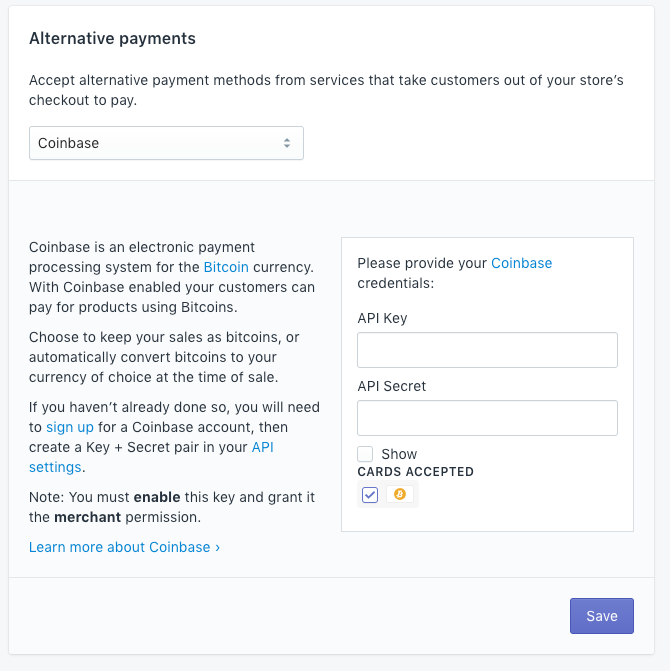
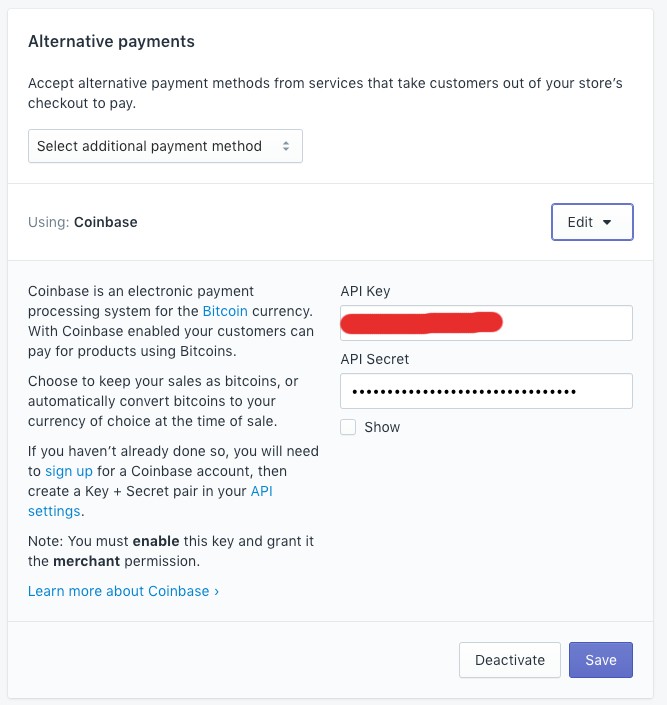
You’ll see that if you select Coinbase you need to enter some API information. This is what connects your Coinbase account to the store.
Step 5 – Create your API keys
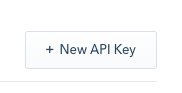
Go here and create a Key + Secret pair in your API settings in Coinbase.

To do this click + new api key
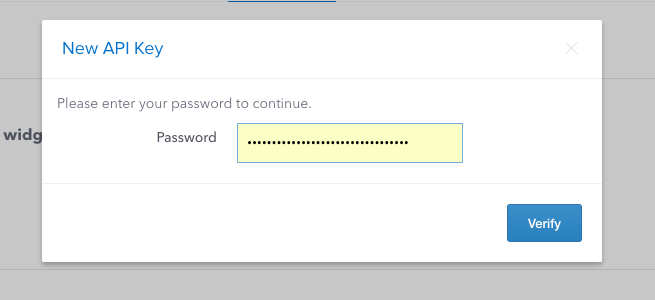
Enter your password.
Then enable BTC wallet (primary)
Ignore API v2
Show permissions for API v1
Select Merchant
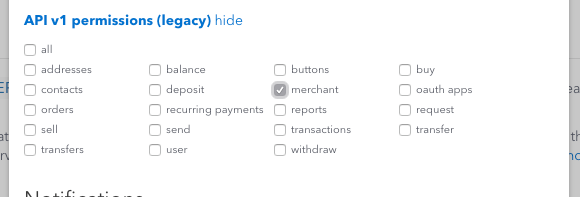
Click create.
Ensure you’ve got enabled in a green box after doing this. If it’s grey then something is wrong – try again. It should look like this.

Copy your Shopify api keys to Shopify. It should look like this.
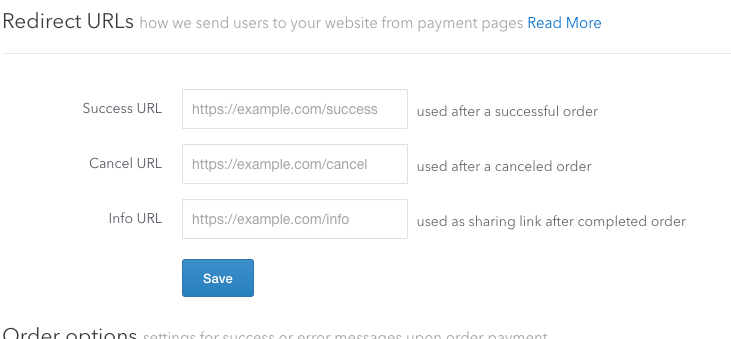
Step 6 Set your redirect addresses
In Coinbase you may also want to set your redirect URLS for after the transaction. Perhaps you want to create a custom landing page for Bitcoin customers telling them that their order will be dispatched once the transaction is confirmed?
Step 7 – Create a test transaction
Almost done. But we must test it.
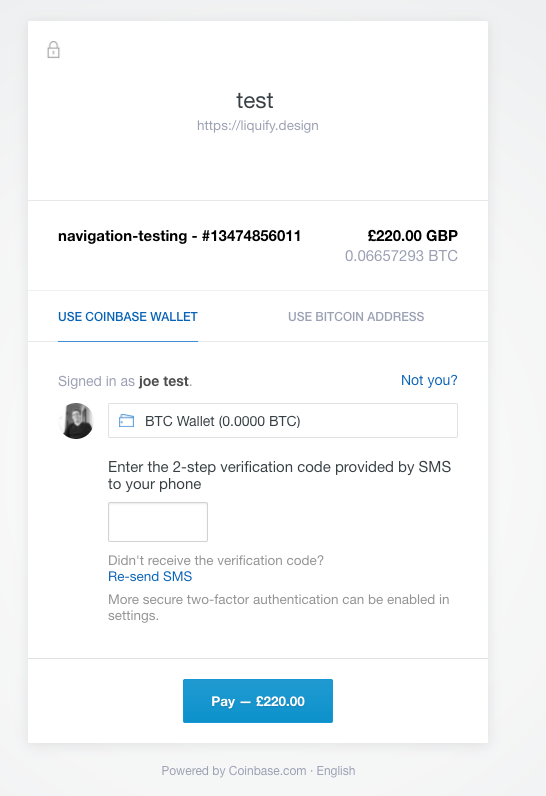
Log out of your Shopify store and pretend you are a customer. Add a product to the basket and go through the checkout selecting Bitcoin as the payment method.
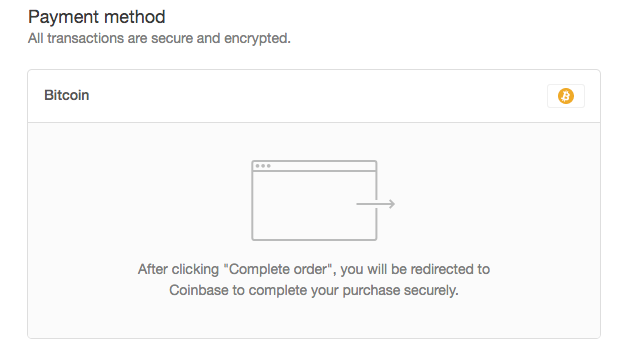
If there is a problem go through the steps again carefully. This is what you should see after clicking to pay with Bitcoin:
Problems Accepting Bitcoin with Shopify?
Many people see an error after the redirect. This is usually because they haven’t set up as a business account and activated the merchant account. If you’re still seeing errors after following our instructions then reach out to Coinbase first since it’s probably something to do with your account setup. Our Shopify developers would also be willing to do it for you (for a fee). Just ask us.
Tips for Managing your Shopify Bitcoin Orders
Bitcoin payments can be slow to confirm – sometimes taking hours. If you send that nice shiny iPhone off whilst it’s still pending then you could lose out. Make sure the bitcoin payment is confirmed/complete!
Never store all your coins in one exchange/wallet. If you’ve got a lot of money in Bitcoin then either convert to cash or move to a cold wallet (offline). Never leave lots of coin in an online exchange.
Have fun accepting Bitcoin with Shopify.
And if you need a Shopify developer for the Bitcoin integration – contact us.